Today's high temperature is in the low 80's and I've been anxious to plant my garden. According to my climate zone I'm supposed to wait until the end of May. However, over the next 10 days we're expecting temperatures mostly in the 70's and 80's and no evening temperatures are forecasted to be lower than 40. I'm sure I'm jumping the gun and some of you may or may not agree with me. Based on today's weather I'm figuring I'll have the month of May to keep a close eye out for potential frost. My plan is to watch the weather closely and cover the garden bed if necessary. In the scaled figure below you'll see how I arranged my 8' x 4' raised garden bed.

During the course of the day the sun travels from the bottom right corner in the figure above towards the upper left corner. When I was deciding on the layout I put the taller plants in the back of the bed so the shorter plants in the front hopefully won't be shaded over time.
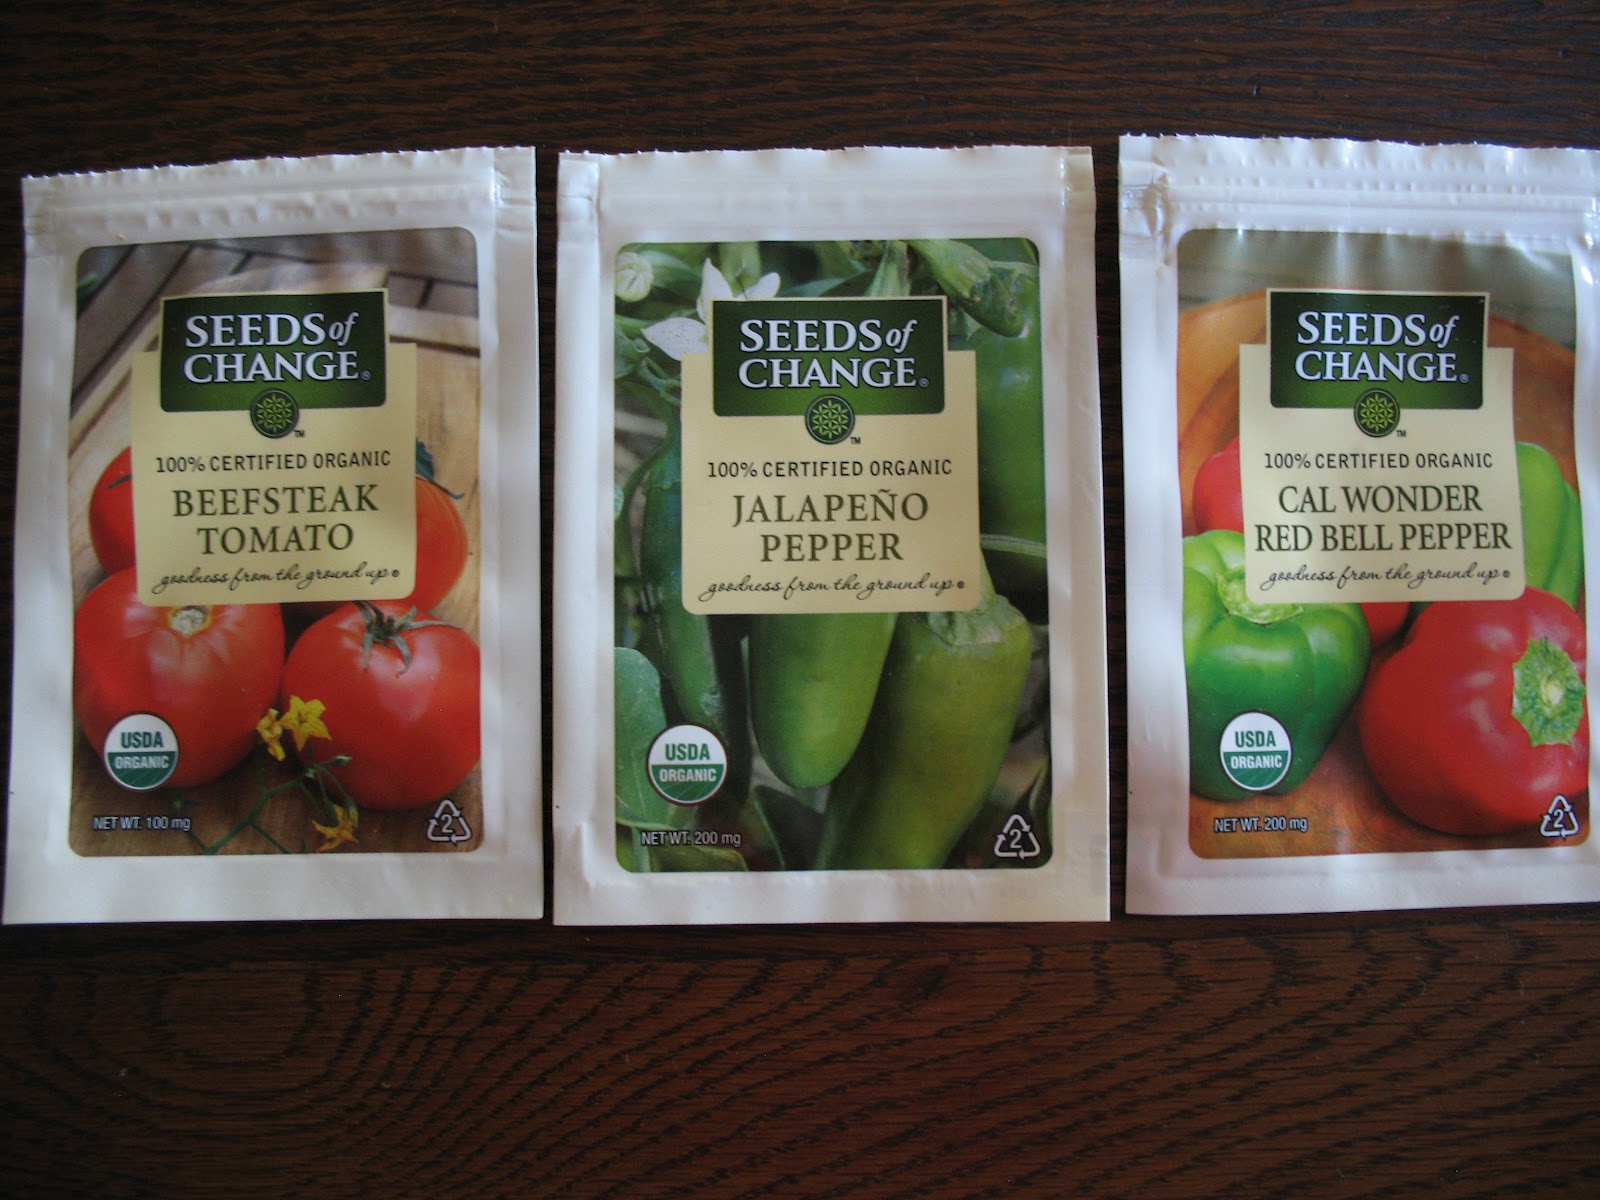
Here are the varieties I chose:


The tomatoes, jalapenos, bell peppers, redina lettuce, basil, cucumbers, and a few beans were germinated indoors. I had trouble indoors with the watermelon and beans. They both sprouted and then died. I think the self watering seed starter kept the seeds too wet. I took the cover off of the seed starter kit last week and planted a few more beans and those haven't had any problems. Today I planted seeds for watermelon, carrots, nevada lettuce, and zucchini directly into the soil. Here is a photo of the garden before anything was planted today.

The cedar bed came in a kit I purchased at a local home improvement store for $80. Between the cost of
lumber and buying a saw and hardware to build my own I figured it was nearly the same amount of money. I also spend most days, sun up to sun down, with a toddler who wants to "help" no matter what I'm doing. (My husband is a flight paramedic who works long shifts) The kit above was perfect because the pieces easily slid together with dove tail joints and no tools were required. Here is a photo of one corner joint.

More updates on the way : )

During the course of the day the sun travels from the bottom right corner in the figure above towards the upper left corner. When I was deciding on the layout I put the taller plants in the back of the bed so the shorter plants in the front hopefully won't be shaded over time.
Here are the varieties I chose:


The cedar bed came in a kit I purchased at a local home improvement store for $80. Between the cost of
lumber and buying a saw and hardware to build my own I figured it was nearly the same amount of money. I also spend most days, sun up to sun down, with a toddler who wants to "help" no matter what I'm doing. (My husband is a flight paramedic who works long shifts) The kit above was perfect because the pieces easily slid together with dove tail joints and no tools were required. Here is a photo of one corner joint.

More updates on the way : )
No comments:
Post a Comment
Note: Only a member of this blog may post a comment.